Hey there, tech wizards and hobbyists! Let’s dive straight into something that’s blowing up the tech world right now: Raspberry Pi VPC IoT tutorial. If you’ve ever wondered how to set up a Raspberry Pi for IoT projects using Virtual Private Cloud (VPC), this is the ultimate guide for you. Imagine controlling your smart home devices, automating tasks, or even building a weather station—all from a tiny little board that fits in your pocket. Sounds cool, right? Let’s get started!
Before we jump into the nitty-gritty, let’s talk about why this setup is a game-changer. IoT (Internet of Things) has become a buzzword in recent years, and with good reason. It connects devices, collects data, and transforms the way we interact with technology. But here’s the deal: setting up IoT projects can be tricky if you don’t know where to start. That’s where Raspberry Pi comes in. Paired with VPC, it becomes a powerhouse for innovation.
This tutorial is designed for everyone, whether you’re a beginner or a seasoned pro. We’ll walk you through the process step by step, ensuring you don’t miss a beat. So grab your Raspberry Pi, a cup of coffee, and let’s embark on this tech adventure together. Trust me, by the end of this, you’ll be ready to take on the world—or at least your home automation system!
Read also:Vernon Trumbull Net Worth The Untold Story Of Fame Fortune And Success
Table of Contents
- Introduction to Raspberry Pi VPC IoT
- Raspberry Pi Basics: What You Need to Know
- What is VPC and Why It Matters
- Step-by-Step Setup Process
- Software Requirements and Tools
- Connecting IoT Devices to Raspberry Pi
- Security Tips for Your IoT Setup
- Common Issues and Troubleshooting
- Creative Project Ideas with Raspberry Pi IoT
- Conclusion and Next Steps
Introduction to Raspberry Pi VPC IoT
Raspberry Pi VPC IoT tutorial is all about creating a seamless environment where your devices can communicate effortlessly. But what exactly does this mean? Let’s break it down. Raspberry Pi is a small, affordable computer that can run a variety of operating systems. VPC, on the other hand, is a cloud-based network that provides secure and isolated environments for your projects. When combined, they create a powerful platform for IoT development.
Now, why should you care? Well, IoT isn’t just about cool gadgets anymore. It’s about solving real-world problems, improving efficiency, and enhancing our daily lives. Whether you’re building a smart irrigation system for your garden or monitoring your home’s energy consumption, Raspberry Pi with VPC can help you achieve that and more.
Why Use Raspberry Pi for IoT?
Raspberry Pi has become the go-to choice for IoT enthusiasts for several reasons. First, it’s incredibly versatile. With its GPIO pins, you can connect a wide range of sensors and actuators. Second, it’s affordable, making it accessible to hobbyists and professionals alike. Lastly, it’s supported by a massive community, which means you’ll never run out of resources or help when you need it.
Raspberry Pi Basics: What You Need to Know
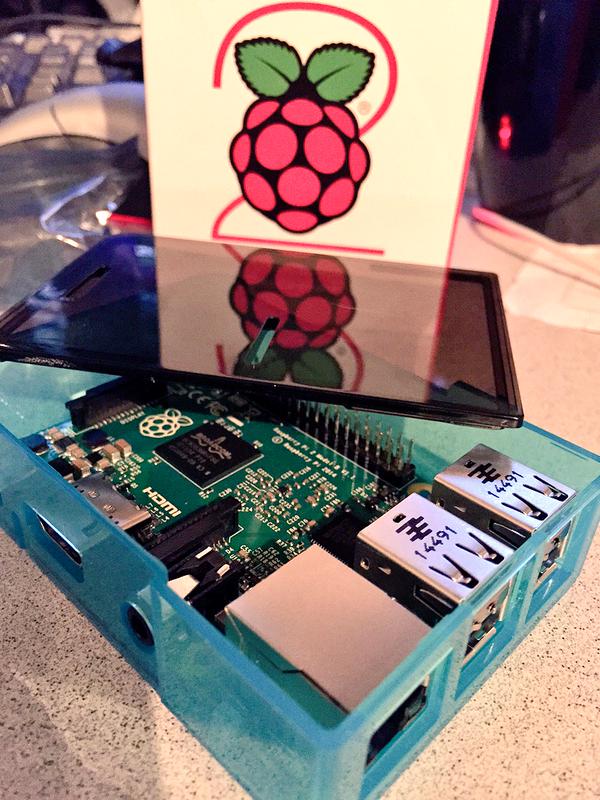
Before we dive into the setup, let’s cover some basics about Raspberry Pi. There are several models available, but for most IoT projects, the Raspberry Pi 4 Model B is the best choice. It offers enough power and connectivity options to handle complex tasks. Here’s a quick rundown of what you need:
- Raspberry Pi board (preferably Model 4)
- MicroSD card with at least 16GB storage
- Power adapter (5V/3A recommended)
- Case for Raspberry Pi (optional but recommended)
- HDMI monitor or access via SSH
Don’t forget to install an operating system on your Raspberry Pi. Raspbian OS is a great starting point, but you can also use alternatives like Ubuntu or even lightweight distros depending on your project’s needs.
Setting Up Your Raspberry Pi
The first step is to download the Raspberry Pi Imager tool from the official website. Once you’ve got that, follow these steps:
Read also:Emily Compagno Husband The Inside Story You Need To Know
- Insert the microSD card into your computer.
- Open Raspberry Pi Imager and select the desired operating system.
- Choose the SD card as the target device and click write.
- After the process is complete, insert the SD card into your Raspberry Pi and power it up.
What is VPC and Why It Matters
VPC stands for Virtual Private Cloud, and it’s essentially a private network within a public cloud environment. Think of it as a secure bubble where your IoT devices can communicate without being exposed to the outside world. This is crucial for protecting sensitive data and ensuring the integrity of your projects.
Here’s why VPC matters in the context of IoT:
- Isolation: Your devices are isolated from other networks, reducing the risk of unauthorized access.
- Security: VPC allows you to define strict access controls and firewall rules.
- Scalability: You can easily scale your IoT setup as your needs grow.
Setting Up VPC for Raspberry Pi
To set up VPC, you’ll need to use a cloud provider like AWS, Google Cloud, or Azure. Each platform has its own way of creating VPCs, but the general steps are similar:
- Create a new VPC in your cloud console.
- Define subnets and IP ranges for your devices.
- Set up security groups and access rules.
- Connect your Raspberry Pi to the VPC using SSH or a cloud-based management tool.
Step-by-Step Setup Process
Now that we’ve covered the basics, let’s walk through the setup process. This section will guide you through configuring Raspberry Pi for IoT projects using VPC. Take your time and follow each step carefully to avoid any hiccups along the way.
Step 1: Install Necessary Software
Begin by installing the required software on your Raspberry Pi. You’ll need packages like MQTT, Node-RED, and Python libraries for IoT development. Use the following commands to get started:
- sudo apt update
- sudo apt install mosquitto mosquitto-clients python3-pip
- pip3 install paho-mqtt
Step 2: Configure Network Settings
Once the software is installed, configure your Raspberry Pi to connect to the VPC network. This involves setting up static IP addresses, configuring DNS settings, and ensuring proper routing. Refer to your cloud provider’s documentation for detailed instructions.
Software Requirements and Tools
Having the right tools is essential for a successful IoT project. Here’s a list of software and tools you’ll need:
- Raspberry Pi Imager
- SSH client (like PuTTY for Windows)
- Mosquitto MQTT broker
- Node-RED for visual programming
- Python or other programming languages
Remember, the choice of tools depends on your project’s requirements. For instance, if you’re building a data-driven application, you might want to include a database like MySQL or PostgreSQL.
Connecting IoT Devices to Raspberry Pi
Now comes the fun part: connecting IoT devices to your Raspberry Pi. Whether you’re using sensors, cameras, or actuators, the process is relatively straightforward. Here’s how you can do it:
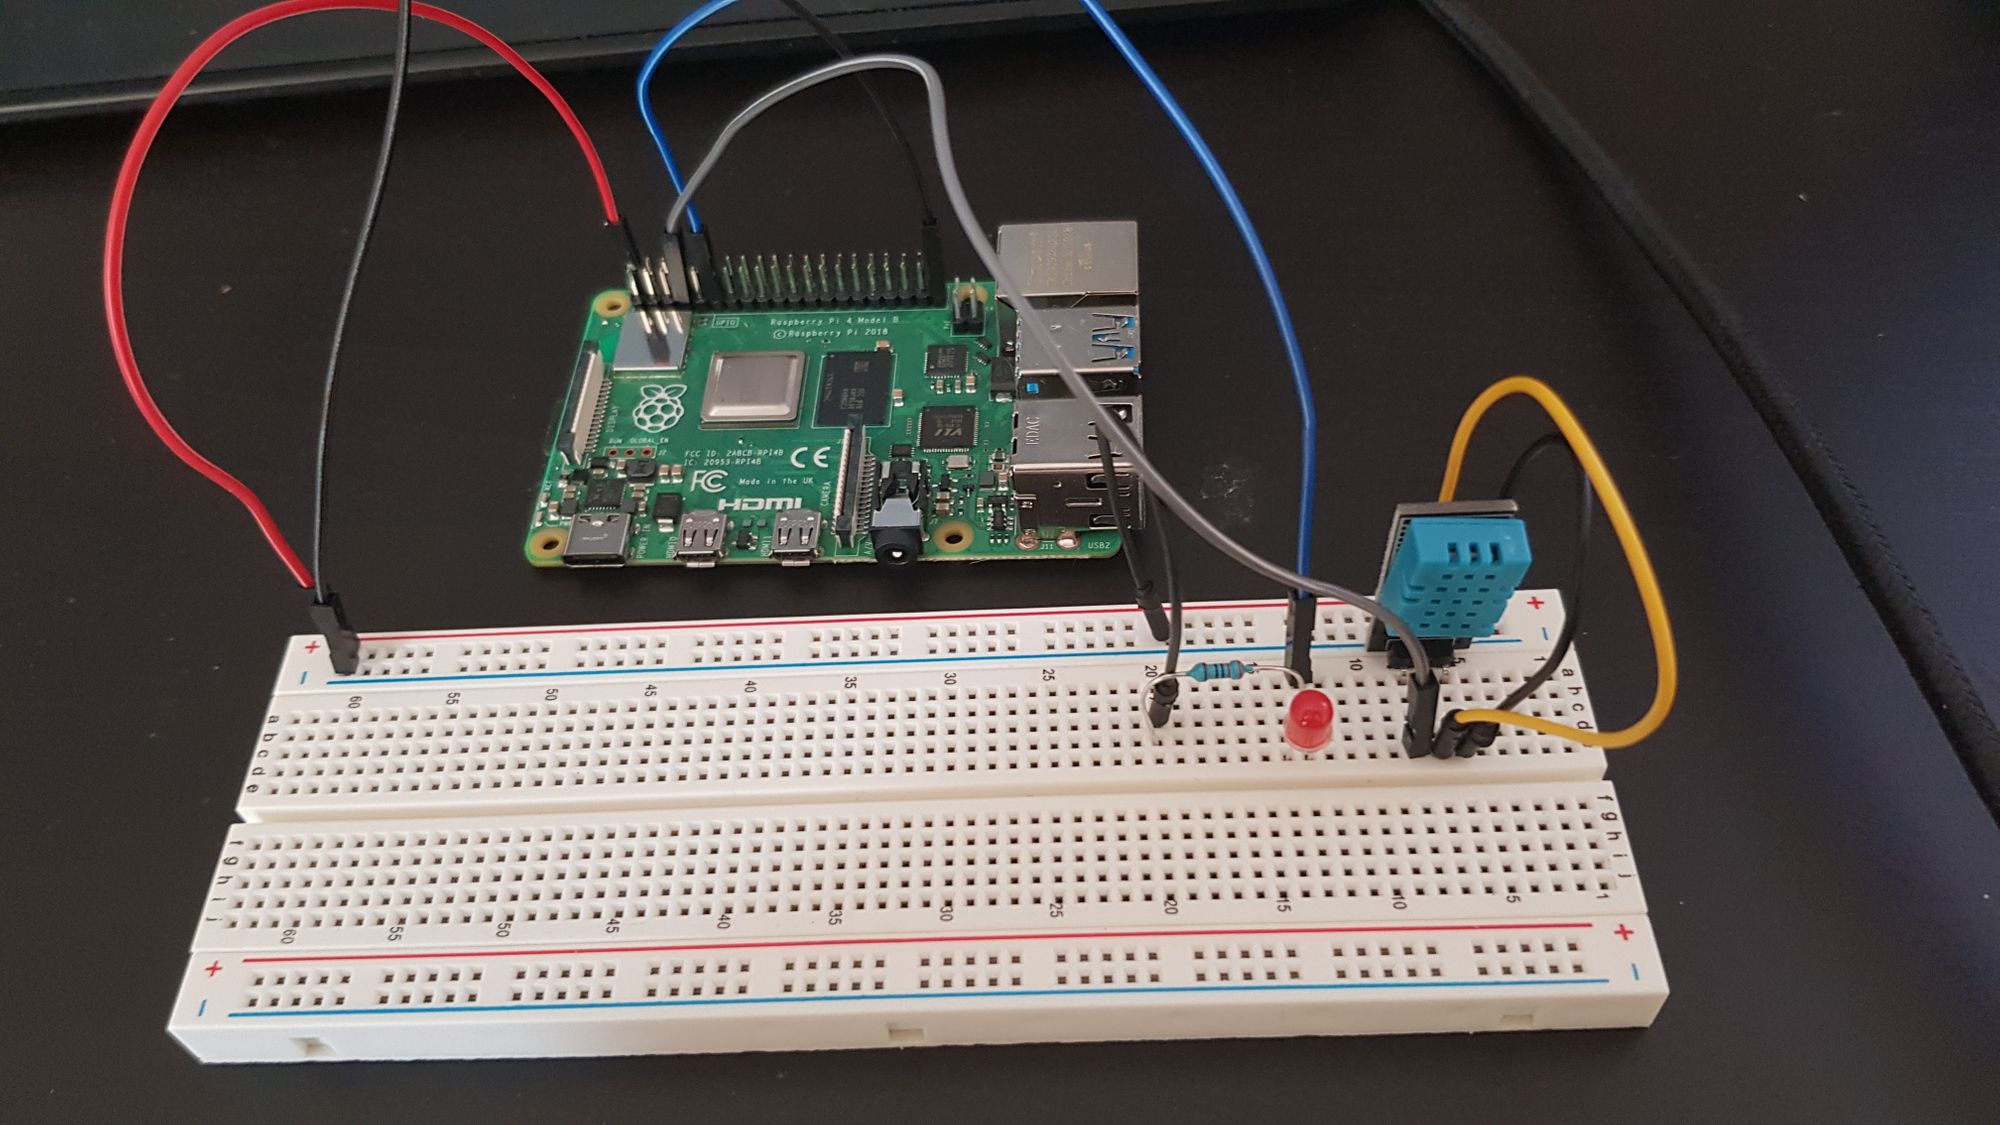
Using GPIO Pins
Raspberry Pi’s GPIO pins are perfect for connecting sensors and actuators. Use a breadboard and jumper wires to connect your devices. For example, if you’re using a temperature sensor like DHT22, follow these steps:
- Connect the VCC pin of the sensor to a 3.3V pin on Raspberry Pi.
- Connect the GND pin to a ground pin.
- Connect the data pin to a GPIO pin (e.g., GPIO4).
- Install the Adafruit_DHT library and write a Python script to read sensor data.
Security Tips for Your IoT Setup
Security should always be a top priority when working with IoT projects. Here are some tips to keep your setup safe:
- Use strong passwords for all devices and services.
- Enable SSH key-based authentication instead of passwords.
- Regularly update your software to patch vulnerabilities.
- Monitor your network for suspicious activity.
Remember, a single weak point can compromise your entire setup. Stay vigilant and follow best practices to ensure maximum security.
Common Issues and Troubleshooting
Even with the best preparation, issues can arise. Here are some common problems and how to fix them:
- Device not connecting to the network: Check your network settings and ensure the device has the correct IP address.
- MQTT broker not responding: Verify that the broker is running and accessible from your Raspberry Pi.
- Sensor readings inconsistent: Ensure proper wiring and calibration of your sensors.
If you’re stuck, don’t hesitate to reach out to the Raspberry Pi community or forums. Chances are, someone else has faced the same issue and found a solution.
Creative Project Ideas with Raspberry Pi IoT
Now that you’ve got the basics down, let’s talk about some cool project ideas:
- Smart home automation system
- Weather station with real-time data visualization
- Smart garden with automated watering and monitoring
- Personal fitness tracker
- DIY security camera system
The possibilities are endless. Let your creativity flow and see where it takes you!
Conclusion and Next Steps
Well, there you have it—a comprehensive Raspberry Pi VPC IoT tutorial designed to help you master the art of IoT development. From setting up your Raspberry Pi to connecting devices and ensuring security, we’ve covered everything you need to get started. Remember, practice makes perfect, so don’t be afraid to experiment and learn from your mistakes.
Take action now! Share this article with your friends, leave a comment below, or check out our other tutorials for more inspiration. Who knows, maybe your next project will be the next big thing in the tech world. Happy tinkering, and see you in the next one!