So, you’ve probably heard about Raspberry Pi and how it’s taking the tech world by storm, especially in the IoT (Internet of Things) space. But what happens when you combine Raspberry Pi with AWS Virtual Private Cloud (VPC)? You get a powerhouse setup that not only connects devices but also ensures security and scalability. If you’re looking to dive into the world of Raspberry Pi VPC IoT, you’ve come to the right place. This tutorial will walk you through every step of the process, from setting up your Raspberry Pi to integrating it with AWS VPC for a seamless IoT experience.
Now, before we jump into the nitty-gritty details, let’s take a moment to appreciate why this setup is so important. IoT is everywhere—from smart homes to industrial automation—and having a secure and reliable infrastructure is key. With Raspberry Pi as your hardware backbone and AWS VPC as your cloud solution, you’re setting yourself up for success. Stick around, because we’re about to break it all down for you in simple, easy-to-follow steps.
Oh, and if you’re wondering whether this setup is worth your time, the answer is a resounding yes. By the end of this tutorial, you’ll have a fully functional IoT system that you can scale as needed. Plus, you’ll gain hands-on experience with two of the most powerful tools in the tech industry. So, are you ready to get started? Let’s go!
Read also:Ali Velshi With Hair The Journey Of A Cnn Anchor Beyond The Screen
Before we dive into the tutorial, here’s a quick overview of what we’ll cover:
- What is Raspberry Pi and why it’s perfect for IoT projects
- Understanding AWS VPC and its role in securing your IoT setup
- Step-by-step guide to setting up Raspberry Pi with AWS VPC
- Best practices for securing your IoT devices
- Real-world examples and use cases
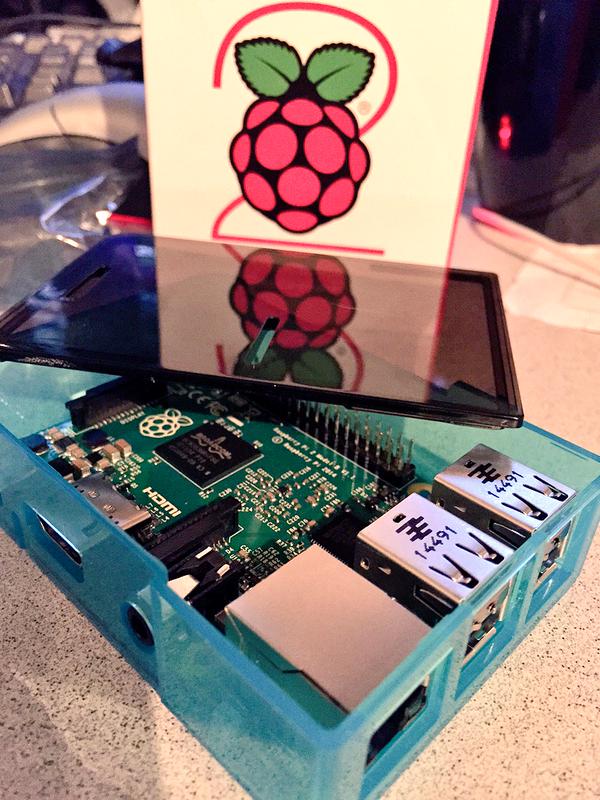
What is Raspberry Pi and Why Should You Care?
Raspberry Pi is more than just a tiny computer; it’s a game-changer for hobbyists, developers, and businesses alike. This credit-card-sized device packs a surprising amount of power, making it ideal for IoT projects. Whether you’re building a smart home automation system or a weather monitoring station, Raspberry Pi has got you covered.
But what makes Raspberry Pi so special? For starters, it’s affordable. You can get a Raspberry Pi for as little as $35, which is a steal compared to other single-board computers. Plus, it’s highly customizable, meaning you can tailor it to fit your specific needs. And let’s not forget the vibrant community of developers who are constantly creating new projects and sharing their knowledge.
Key Features of Raspberry Pi
- Compact size
- Low power consumption
- Highly customizable
- Vibrant community support
- Affordable price point
Understanding AWS VPC: Your Cloud Security Partner
Now that you know what Raspberry Pi is, let’s talk about AWS VPC. VPC stands for Virtual Private Cloud, and it’s essentially a private network within AWS where you can launch your resources. Think of it as a secure sandbox where you can play around with your IoT devices without worrying about external threats.
Why is AWS VPC so important for IoT? Well, IoT devices are notorious for being vulnerable to cyber attacks. By using AWS VPC, you can create a secure environment for your devices, ensuring that only authorized traffic can access them. Plus, you get all the benefits of AWS’s scalability and reliability, which is crucial for any IoT project.
Benefits of Using AWS VPC for IoT
- Enhanced security
- Scalability
- Reliability
- Flexibility
- Cost-effective
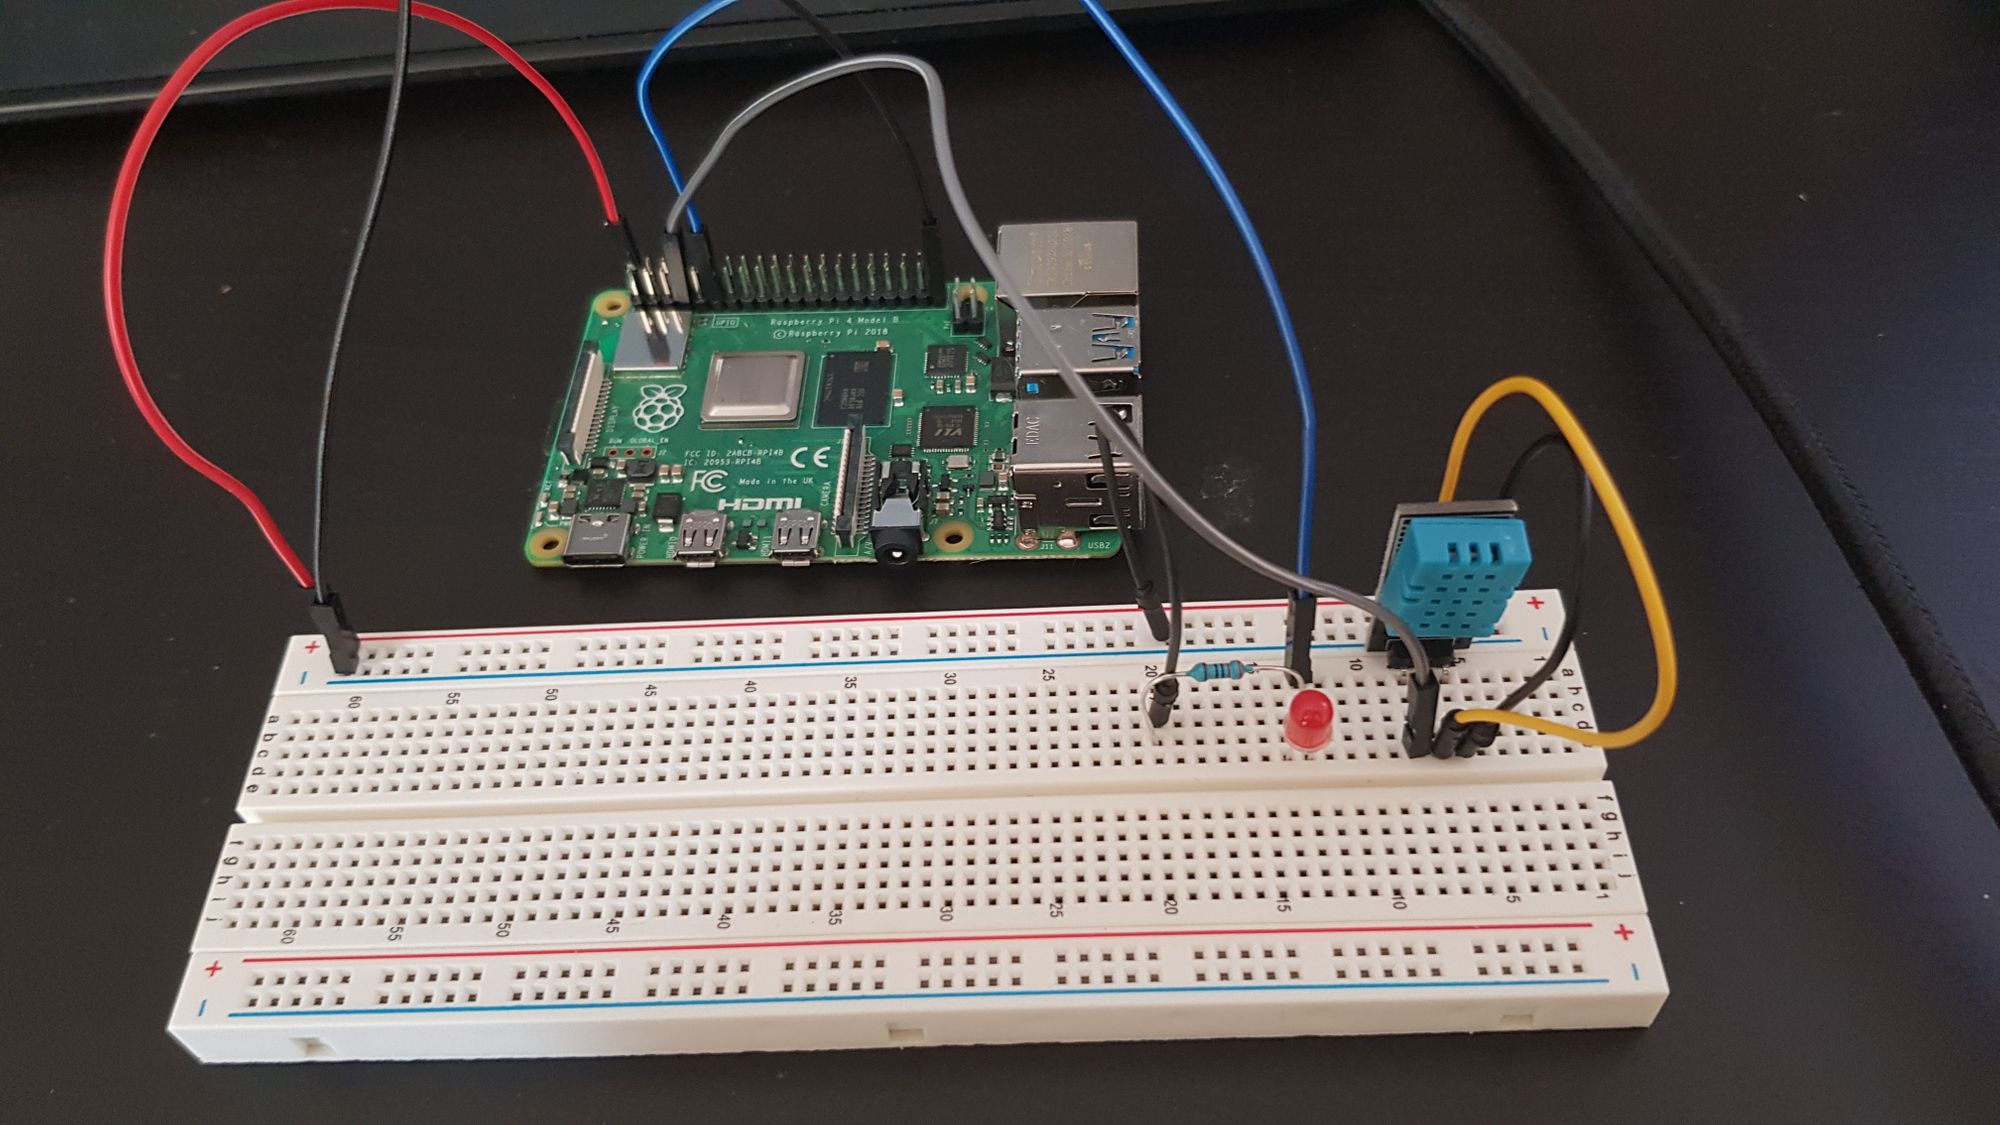
Setting Up Your Raspberry Pi: The Basics
Alright, let’s get our hands dirty and set up your Raspberry Pi. Don’t worry if you’ve never done this before; we’ll walk you through it step by step. First things first, you’ll need a few things:
Read also:Robert Edmund Burr The Untold Story Of A Remarkable Life
- Raspberry Pi (any model will do)
- MicroSD card (at least 16GB)
- Power supply
- HDMI cable and monitor (optional)
- Keyboard and mouse (optional)
Once you’ve got all that, it’s time to install the operating system. We recommend using Raspberry Pi OS, which is specifically designed for the device. You can download it from the official Raspberry Pi website and use a tool like BalenaEtcher to flash it onto your microSD card.
Step-by-Step Guide to Installing Raspberry Pi OS
- Download Raspberry Pi OS from the official website
- Download and install BalenaEtcher
- Insert your microSD card into your computer
- Open BalenaEtcher and select the Raspberry Pi OS image
- Choose your microSD card as the target device
- Click "Flash!" and wait for the process to complete
Connecting Raspberry Pi to AWS VPC
Now that your Raspberry Pi is up and running, it’s time to connect it to AWS VPC. This is where things get a little technical, but don’t worry—we’ve got you covered. First, you’ll need to create a VPC in your AWS account. If you don’t already have an AWS account, you’ll need to sign up for one.
Once you’ve created your VPC, you’ll need to set up a subnet and security group. This will ensure that your Raspberry Pi can communicate with other devices in your VPC while keeping unwanted traffic out. We’ll also show you how to configure your Raspberry Pi to connect to your VPC using SSH (Secure Shell).
Steps to Connect Raspberry Pi to AWS VPC
- Create a VPC in your AWS account
- Set up a subnet and security group
- Configure your Raspberry Pi to connect to your VPC
- Test the connection using SSH
Securing Your IoT Devices
Security is a big deal when it comes to IoT, and it’s something you can’t afford to overlook. Luckily, AWS VPC provides several tools to help you secure your devices. For starters, you can use security groups to control inbound and outbound traffic. You can also enable encryption for your data in transit and at rest.
Another important step is to keep your Raspberry Pi and any connected devices up to date with the latest software patches. This will help protect against known vulnerabilities. And don’t forget to use strong passwords and enable two-factor authentication wherever possible.
Best Practices for Securing Your IoT Devices
- Use security groups to control traffic
- Enable encryption for data in transit and at rest
- Keep software up to date
- Use strong passwords and two-factor authentication
Real-World Examples of Raspberry Pi VPC IoT Projects
By now, you might be wondering how all of this applies to real-world scenarios. Let’s take a look at a few examples of Raspberry Pi VPC IoT projects that are making a difference:
- Smart home automation systems
- Weather monitoring stations
- Industrial automation solutions
- Remote health monitoring devices
These projects not only showcase the versatility of Raspberry Pi and AWS VPC but also highlight their potential to solve real-world problems. Whether you’re looking to improve efficiency, enhance security, or create new opportunities, the possibilities are endless.
How Raspberry Pi VPC IoT is Changing the Game
Raspberry Pi VPC IoT is more than just a buzzword; it’s a game-changer for industries across the board. From healthcare to manufacturing, businesses are leveraging this technology to innovate and stay ahead of the curve. And as more devices become connected, the demand for secure and scalable IoT solutions will only continue to grow.
Troubleshooting Common Issues
Let’s face it—things don’t always go as planned. If you run into any issues while setting up your Raspberry Pi VPC IoT system, don’t panic. We’ve compiled a list of common problems and their solutions to help you troubleshoot:
- Connection issues: Make sure your Raspberry Pi is properly connected to your VPC and that your security groups are configured correctly.
- Software updates: Check for and install any available updates for your Raspberry Pi OS and AWS services.
- Device compatibility: Ensure that all devices in your system are compatible with each other and with your VPC setup.
Conclusion: Take Your IoT Projects to the Next Level
And there you have it—your ultimate guide to setting up a Raspberry Pi VPC IoT system. By following the steps outlined in this tutorial, you’ve taken the first step toward building a secure and scalable IoT setup. Remember, the key to success is to keep learning and experimenting. Don’t be afraid to try new things and push the boundaries of what’s possible.
So, what are you waiting for? Grab your Raspberry Pi, log in to your AWS account, and start building your IoT dream system. And don’t forget to share your experiences and projects with the community. Who knows? You might just inspire someone else to take the leap into the world of IoT.
And if you found this tutorial helpful, be sure to check out our other articles on all things tech. Happy building!